Today I detailed the back of the predatory dinosaur with a striped pattern using pastel chalks.
After top coating the sculpture with clear lacquer to fix the chalk it was time to finish off the piece with a coat of clear gloss on the eyes and tongue.
The piece is being offered for sale at my Etsy shop: https://www.etsy.com/listing/46316425/dinosaur-clay-sculpture?ref=shop_home_active_1
Showing posts with label brian blacknick. Show all posts
Wednesday, May 3, 2017
Sunday, March 5, 2017
Creating a Miniature Stop Motion Set
Recently a client commissioned me to create a miniature cavern set for his stop motion project.
He wanted it to be in two sections. I began by constructing a wood frame over which galvanized wire mesh was stapled.
The finished strip clamped down as it is drying.
Styrofoam chunks were glued onto the framework to create a rocky look.
Paper mache being applied over the foam.
Here I'm applying a veneer of Apoxie clay to the set floor. The floor was given a rocky volcanic look by texturing the clay with silicone pads I created for this project.
When the floor of the set had cured I began applying Apoxie clay to the sides.
Some stalagmite formations for the floor of the set.
The completed set before priming and painting.
The set painted with the stalagmites added.
I use a food processor for mixing my paper mache . It's fast and the mix is free of lumps.
Before applying the mache I clamped down the wood base to prevent warpage.
Using a brush the mache is applied to the sets framework.
A plywood strip was cut to mask the lip of the sets base. Chunks of Styrofoam were hot glued on.
Apoxie clay was applied over the Styrofoam.
Styrofoam chunks were glued onto the framework to create a rocky look.
Paper mache being applied over the foam.
Here I'm applying a veneer of Apoxie clay to the set floor. The floor was given a rocky volcanic look by texturing the clay with silicone pads I created for this project.
When the floor of the set had cured I began applying Apoxie clay to the sides.
Some stalagmite formations for the floor of the set.
The completed set before priming and painting.
The set painted with the stalagmites added.
In the future I'll be posting about a somewhat larger set piece I created for this film project.
Friday, April 22, 2016
Miniature Diorama Work for The Cult of Doll Almanac
Sculpting a Bull shark for the Cult of Doll project.
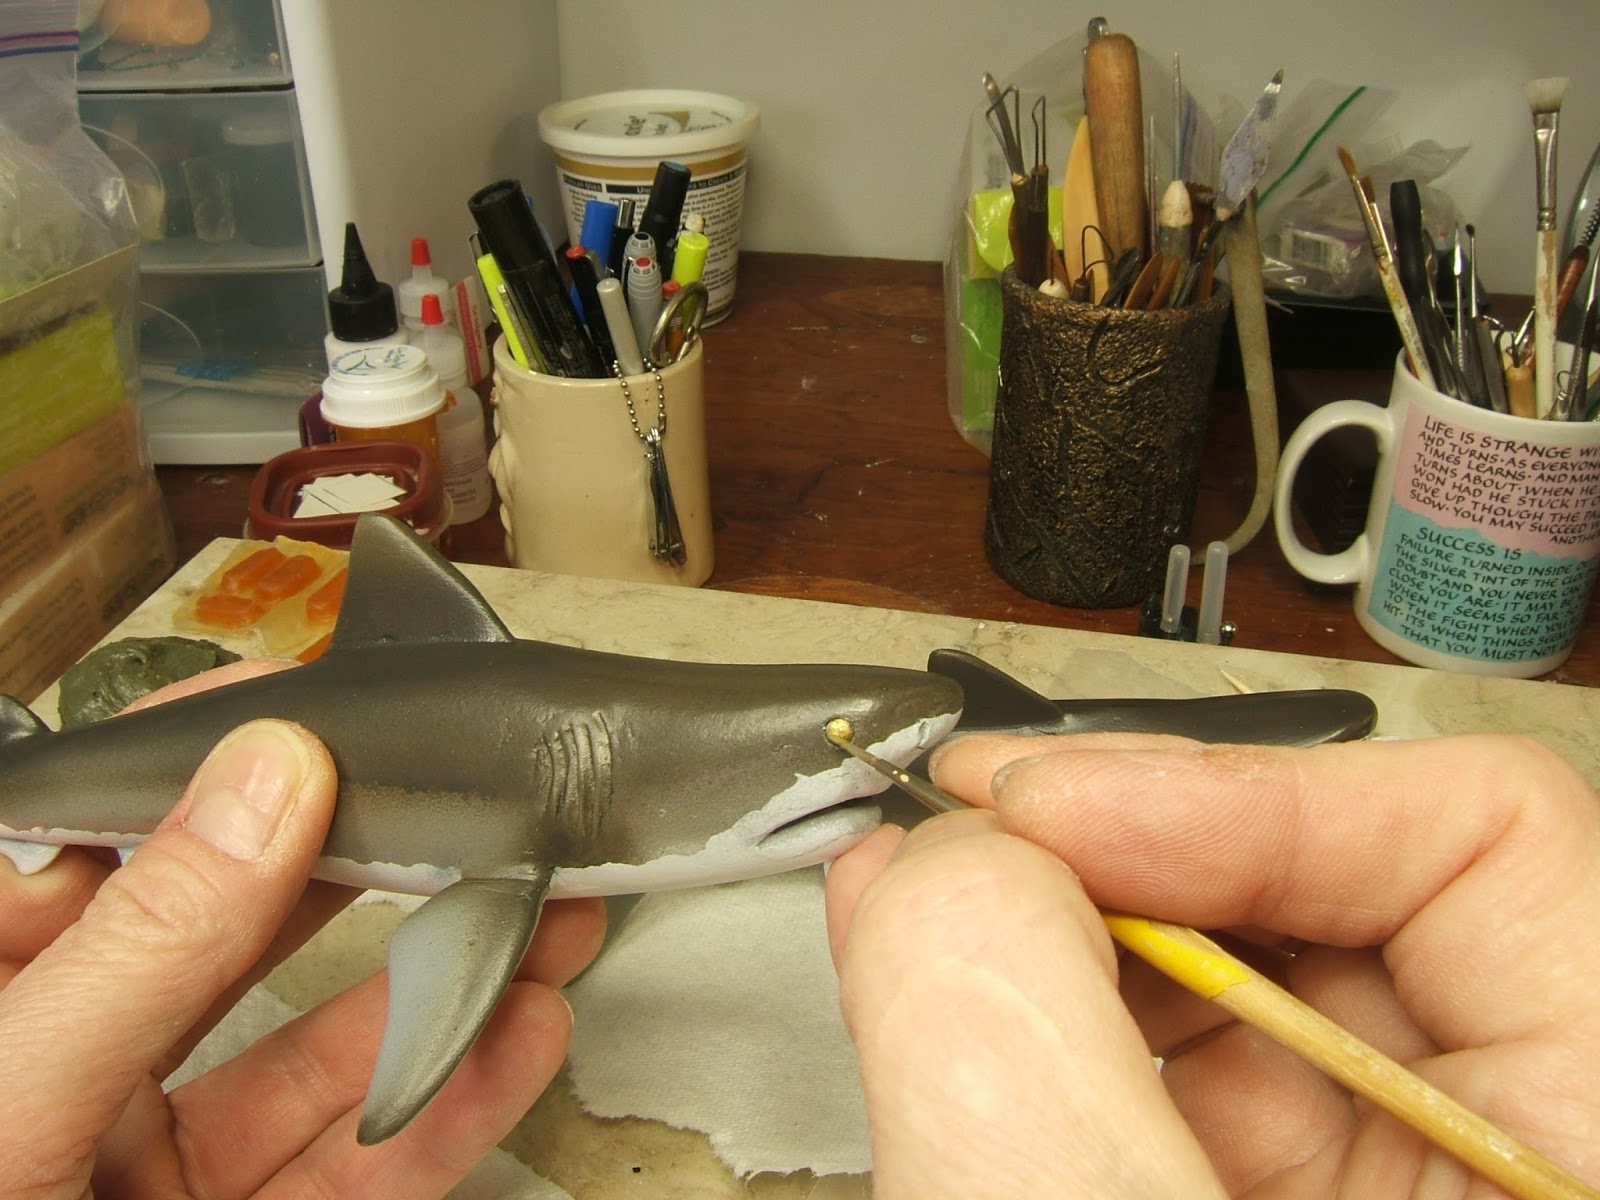
The Bull sharks primed with the dory I built in the background.
The sharks airbrushed. Putting the final touches to the eyes.
The poseable armature for the character I'm creating for The Cult of Doll project.
Building up the miniature sea around one of the shark sculptures.
Detailing the water around the shark.
Be sure to join us April 24th 2016 on Facebook https://www.facebook.com/cultofdoll/?hc_location=ufi for the premiere of the first Biannual Cult of Doll Almanac April 24th 2016
Saturday, April 9, 2016
Miniature Skull Island Trees
My snail themed project got temporarily derailed. For the last week I've been finishing up work on four tree as set pieces for a stop motion Kong project.
When working with the moss it just gets everywhere. My work space is going to need a good going over before I get my clay back out.
Tuesday, March 29, 2016
Clay Art Challenge Day 24
For today's clay challenge I went with a conical shaped shell for my snail. This little guy is sculpted using three colored types of Super Sculpey.
Monday, March 28, 2016
Tuesday, March 22, 2016
Clay Art Challenge Day 18
Today's snail creature. I went with a gentler looking demeanor on this guy. But just in case someone thinks him a push over - I still gave him sharp teeth.
Monday, March 21, 2016
Clay Art Challenge Day 17
When I got around to decorating today's snail creature I thought of the old ditty " red touch yellow kill a fellow " in regards to the coloration of certain venomous snakes. Though I'm sure you'd have to severely provoke this wary looking snail to get him to bite.
Saturday, March 19, 2016
Clay Art Challenge Day 16
Well I'm sixteen days along in my clay art challenge. Today was a mix of sculpting and sorting through my fishing tackle getting it ready for the bass season. Being an early riser I like to get a jump on starting my sculpture as soon as the coffee kicks in.
Here is the wire snail armature and shell bulked out in foil and covered in Apoxie clay.
Later in the day when the clay had cured I began sculpting the snail with pink Super Sculpey.
Here is the sneering little fellow finished and posed outside.
Here is the wire snail armature and shell bulked out in foil and covered in Apoxie clay.
Later in the day when the clay had cured I began sculpting the snail with pink Super Sculpey.
Here is the sneering little fellow finished and posed outside.
Friday, March 18, 2016
Clay Art Challenge Day 15
For my clay challenge today I went with sculpting a smaller sized snail. In the morning I created the wire armature and after covering it in Ave's Apoxie clay I added the pre-baked polymer clay eyes.
After the Apoxie clay cured I sculpted the teeth and began adding purple Super Sculpey.
After painting the eyes and adding some hilites with powered chalk I sprayed the snail with a clear matt finish.
After the Apoxie clay cured I sculpted the teeth and began adding purple Super Sculpey.
After painting the eyes and adding some hilites with powered chalk I sprayed the snail with a clear matt finish.
Thursday, March 17, 2016
Clay Art Challenge Day 14
Today's snail creature was bigger than my previous sculptures. Because of that I was booking to get it finished so no work in progress photos.
I went with a three eye design for this snail.
It was fun doing a toothy monster snail after the last couple of cutesy snails.
I went with a three eye design for this snail.
It was fun doing a toothy monster snail after the last couple of cutesy snails.
Subscribe to:
Posts (Atom)


